

This is a project in P5 JS that Alden Jones and I created together. The initial idea was to create a drawing canvas in p5 JS that forces you to draw or write something you didn't intend. Link to project in Alpha P5JS Editor.
The original idea was to create this hand written phrase "YOU SUCK".
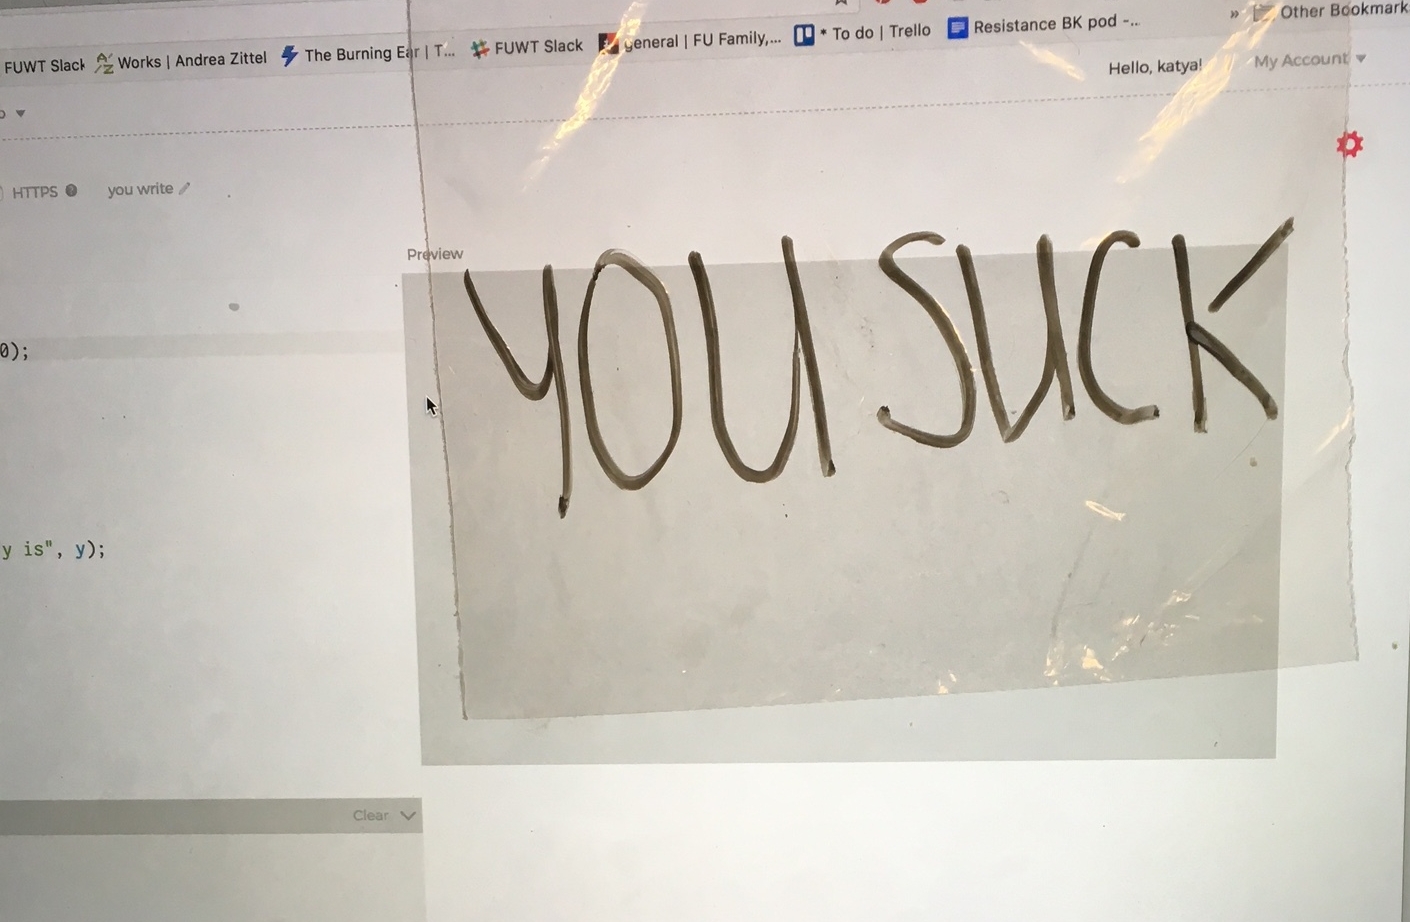
Tracing the letters with cursor.
We decided to trace it using the print () function and quickly realized there are too many coordinates. There must be a faster way.
We then decided to opt for a more creative route, which generated "YOU SUCK" when a user clicks, but also creates something visually interesting after that. In this way, one can continue to play with the abstract shapes the program creates and the focus of the piece is no longer the words that appear briefly.
We feel our this second route is a stronger concept, but we'd still like to tackle the original idea for edification. For that, we think we need to place the coordinates of the mouse position (as it spells out the words) into a CSV file, host the file on a server, and link it to the code so that every time someone moves the cursor, those preloaded values for ellipses are loaded and drawn on the canvas.
Out first code, when tracing the letters was:
function setup() {
createCanvas(700, 400);
var x = mouseX;
}
function draw() {
background(220);
if (mouseIsPressed)
{
ellipse(50, 50, 50, 50);
var x = mouseX;
var y = mouseY;
print( x,",",y);
}
else
rect(25, 25, 50, 50);
}
Our final code:
var brightBlue = [73,174,227];
var brightGold = [225,204,39];
var offPink = [233,71,126];
var brightTan = [248,208,162];
var brightGrey = [145,153,238];
var you = {
x: 50,
ytopT: 50,
ytop: 100,
ybottom: 175,
yfarB: 250,
spacing: 50,
length:75
}
function setup(){
createCanvas(1000, 600);
noStroke();
// frameRate(80);
}
function youSuck(i){
ellipse(you.x,you.ytop+i,20,20);
ellipse(you.x+i,you.ybottom,20,20);
ellipse(you.x+you.length,you.ytop+2*i,20,20);
ellipse(you.x+you.length-i,you.yfarB,20,20);
//O
ellipse(you.x+you.length+you.spacing,you.ytop+i,20,20);
ellipse(you.x+you.length+you.spacing+i,you.ytop,20,20);
ellipse(you.x+you.length+you.spacing+i,you.ybottom,20,20);
ellipse(you.x+2*you.length+you.spacing,you.ytop+i,20,20);
//u
ellipse(you.x+2*you.length+2*you.spacing,you.ytop+i,20,20);
ellipse(you.x+2*you.length+2*you.spacing+i,you.ybottom,20,20);
ellipse(you.x+3*you.length+2*you.spacing,you.ytop+i,20,20);
//s
ellipse(you.x+4*you.length+4*you.spacing-i,you.ytop,20,20);
ellipse(you.x+3*you.length+4*you.spacing,you.ytop+i/2,20,20);
ellipse(you.x+3*you.length+4*you.spacing+i,you.ytop+you.length/2,20,20);
ellipse(you.x+4*you.length+4*you.spacing,you.ytop+you.length/2+i/2,20,20);
ellipse(you.x+4*you.length+4*you.spacing-i,you.ytop+you.length,20,20);
//u
ellipse(you.x+4*you.length+5*you.spacing,you.ytop+i,20,20);
ellipse(you.x+4*you.length+5*you.spacing+i,you.ybottom,20,20);
ellipse(you.x+5*you.length+5*you.spacing,you.ytop+i,20,20);
//c
ellipse(you.x+5*you.length+6*you.spacing,you.ytop+i,20,20);
ellipse(you.x+5*you.length+6*you.spacing+i,you.ybottom,20,20);
ellipse(you.x+5*you.length+6*you.spacing+i,you.ytop,20,20);
//k
ellipse(you.x+6*you.length+7*you.spacing,you.ytopT+1.66*i,20,20);
ellipse(you.x+6*you.length+7*you.spacing+i,you.ybottom-75/2+i/2,20,20);
ellipse(you.x+6*you.length+7*you.spacing+i,you.ybottom-75/2-i/2,20,20);
}
function draw(){
var time = frameCount % 600;
if(mouseIsPressed){
fill(255);
youSuck(time);
// for(let ii = 0; ii<=75;ii++){
// youSuck(ii);
// }
} else{
fill(0);
youSuck(time);
}
}


